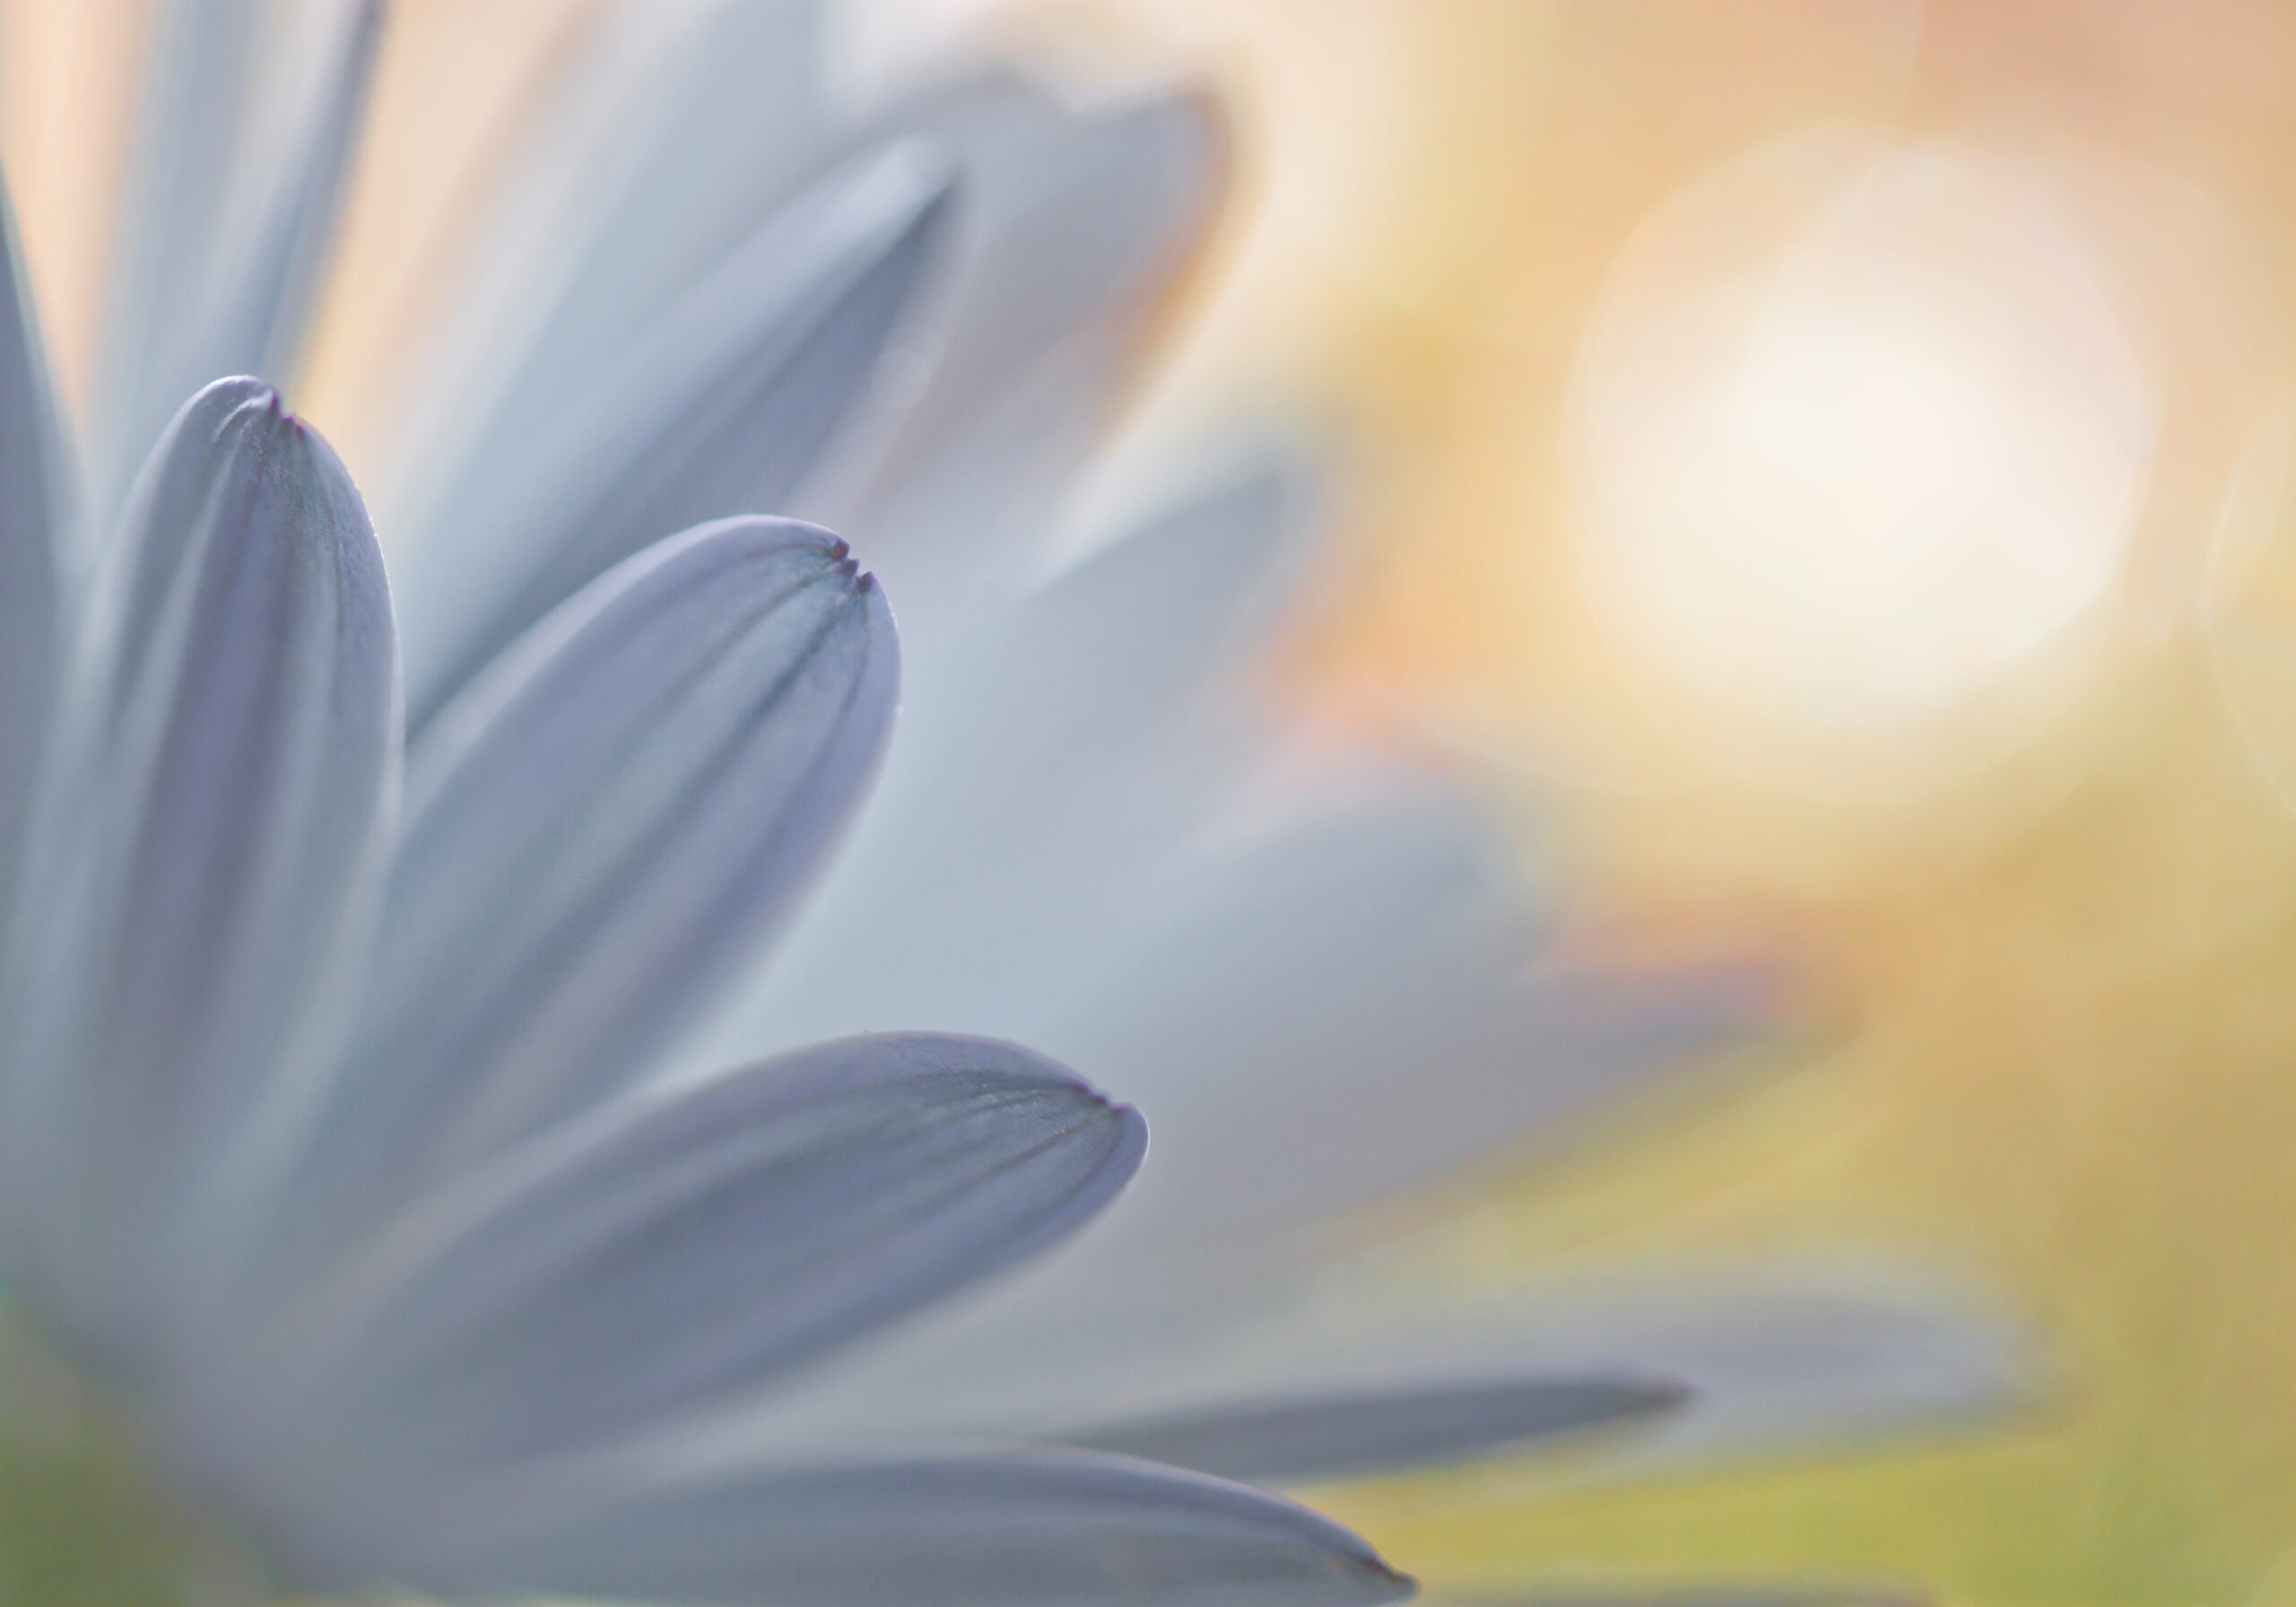
Flower photography is an incredibly accessible form of art since you can find flowers virtually everywhere from botanical gardens and parks through to potted plants on a window sill. Moreover, it offers endless creative possibilities, allowing you to compose abstracts, capture intricate close-ups, frame picturesque landscapes, and explore a multitude of other styles.
However, the art of flower photography goes beyond merely pointing your camera at a pretty blossom and taking the shot. It involves working with the right lighting, crafting a compelling composition and selecting the optimal camera settings.
In this blog you will find invaluable tips and insights we've gathered along the way that will help you to improve your own flower photography.
Enjoy!
1. Mastering Lighting Conditions
Lighting is key for all forms of photography and this is certainly no exception when it comes to flower photography. In flower photography getting the right lighting is crucial to taking a beautiful image.
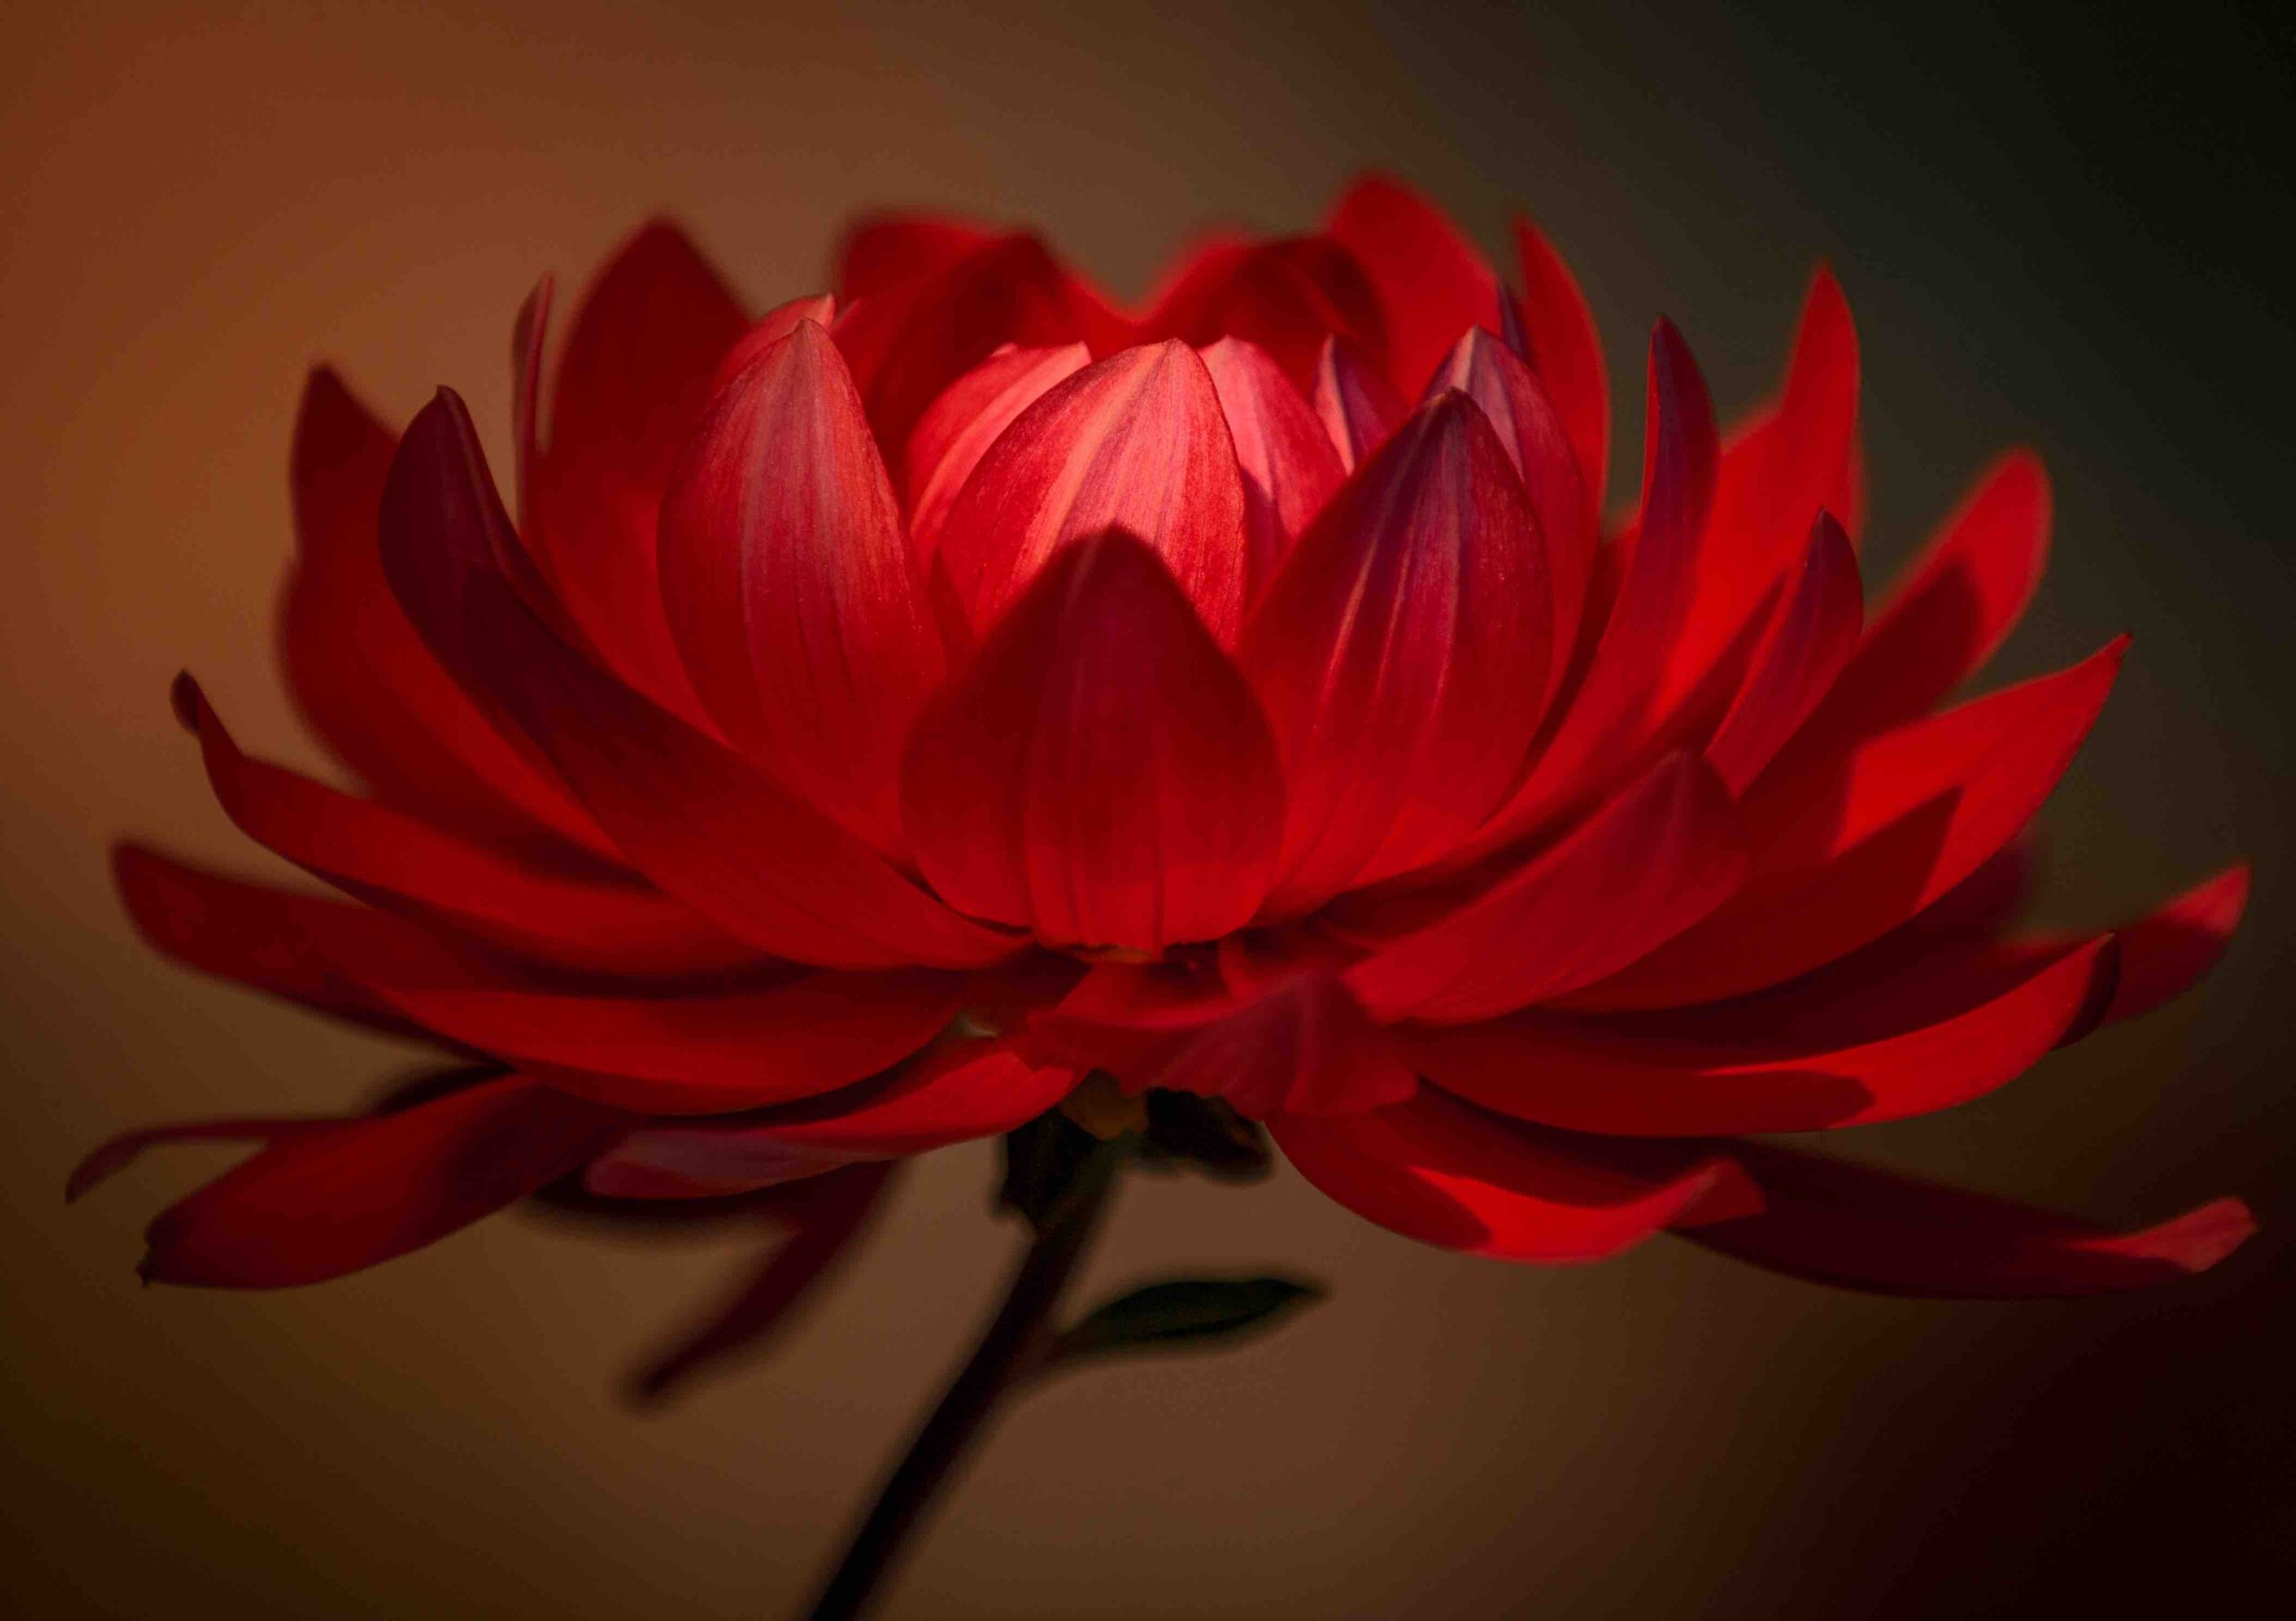
It may seem a little surprising but overcast skies offer the perfect conditions for capturing stunning floral shots. The soft, diffused light on a cloudy day beautifully complements the delicate details of flower petals. In this gentle light, there are no harsh shadows or overly bright spots to contend with, ensuring a balanced and even exposure of your subject matter.
However, cloudy weather isn't your only option. Clear skies during the golden hour, when the sun is low in the sky, can also yield exceptional results ie the early morning or late in the afternoon. The warm, soft light produced by the rising / setting sun bathes your subjects in a soft golden light, creating a captivating visual effect.
Another option, if appropriate, is to take your flowers indoors. This allows for much easier manipulation of the lighting. You can leave curtains or blinds open for more intense light, or close them for a softer, more diffuse lighting effect, add in extra lights, change the position of your subject etc etc. The possibilities are almost endless.
One golden rule stands: avoid shooting flowers around noon on sunny days when the high sun casts unflattering shadows. Whenever possible, gravitate towards softer, more flattering light sources.
2. Capturing Rain-Kissed Flowers
The aftermath of a rain shower presents a unique opportunity for flower photography. Cloudy skies following rain offer soft, diffused light that enhances the visual appeal of your images. But perhaps what's more captivating are the tiny, glistening water droplets adorning the flower petals and leaves.
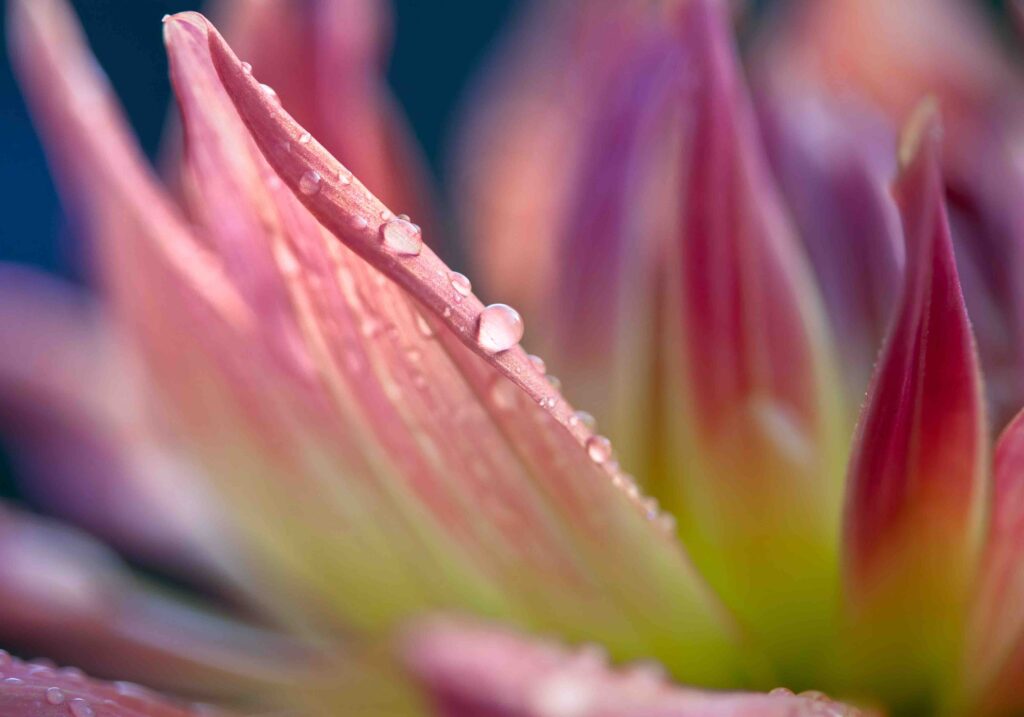
These delicate droplets convey a sense of freshness and elevate the overall aesthetics of the flower. It can be a magical moment to embark on a photographic session, capturing the glistening beauty of these post-rain gems. The reflections and sparkles created by the water droplets add a distinct and beautiful dimension to your photographs.
3. Backlighting
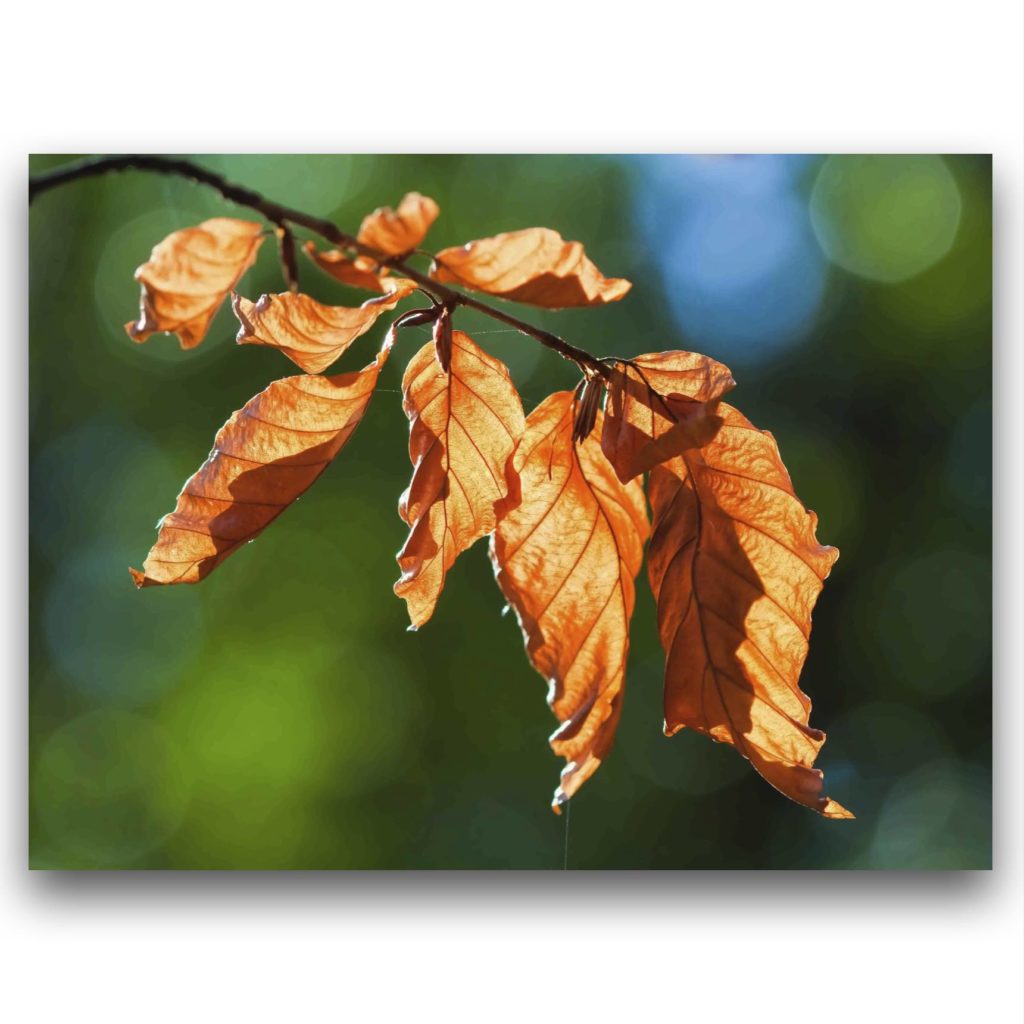
Backlighting your subject can lead to some stunning effects. It can transform your flower or foliage photos into breathtaking works of art. Backlighting is achieved by positioning the subject between your camera and the sun, and it accentuates the translucence of petals / leaves, producing a mesmerising, ethereal glow.
It is usually best achieved in early morning or late in the day when the sun hovers near the horizon to maximise the impact of backlighting but in reality it can be done at any time of day.
The correct positioning allows the backlight to directly illuminate your flower's petals while casting a warm, embracing light over the entire frame. In some cases, you might even capture rays of light filtering through the surrounding foliage, adding an extra layer of enchantment to your images.
Backlighting has been covered in more detail in another blog.
4. The huge importance of the background
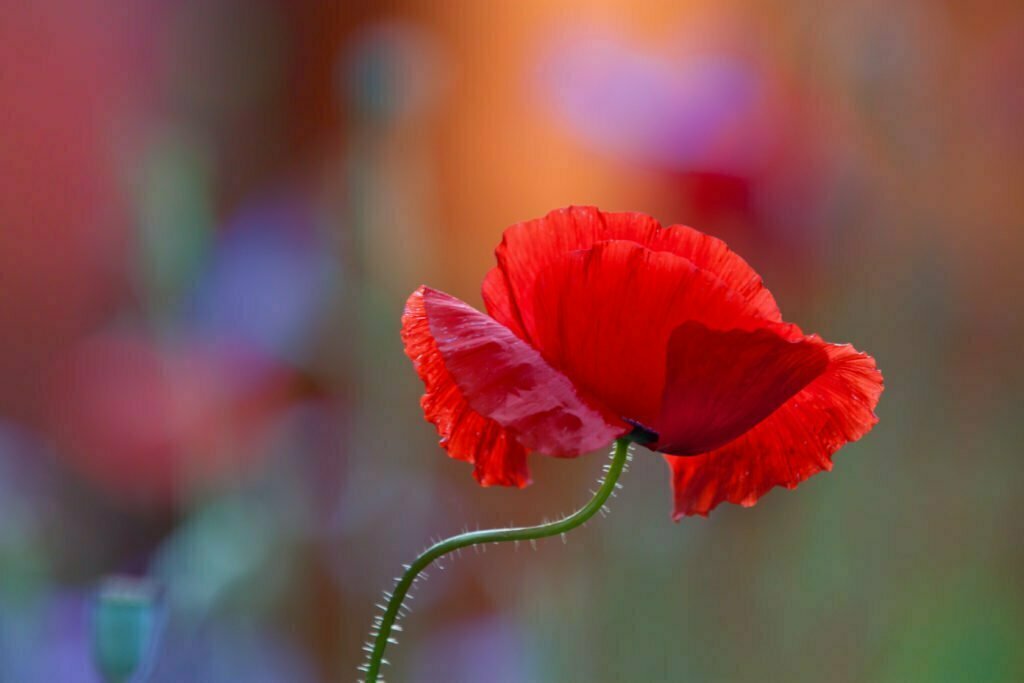
It is difficult to over emphasise the importance of the background in flower photography. The background can so often make or break your image. A uniform, unobtrusive background can enhance the visual impact of your subject, whereas a cluttered or distracting background can divert the viewer's attention away from the main attraction.
Before taking your photograph, you should always take a moment to evaluate the background behind your flower. Look through your camera's viewfinder and ask yourself whether the background complements or distracts from the flower.
It may be necessary to adjust your position to attain a more appealing background devoid of distracting elements. This may entail lowering yourself closer to the ground, allowing the flower to be beautifully framed against a pristine sky, or making subtle movements to the left or right to eliminate any unwanted objects.
Backgrounds are covered in more details elsewhere on this site.
5. Getting In Close
Achieving captivating flower photos can often be achieved by getting up close and personal with your subjects. Several methods allow you to get in close:
One option is to use a telephoto lens to zoom in on the flower allowing you to be further away from the subject matter. This can be helpful when you shooting flowers that are in a large border and you cannot physically get close to the flower.
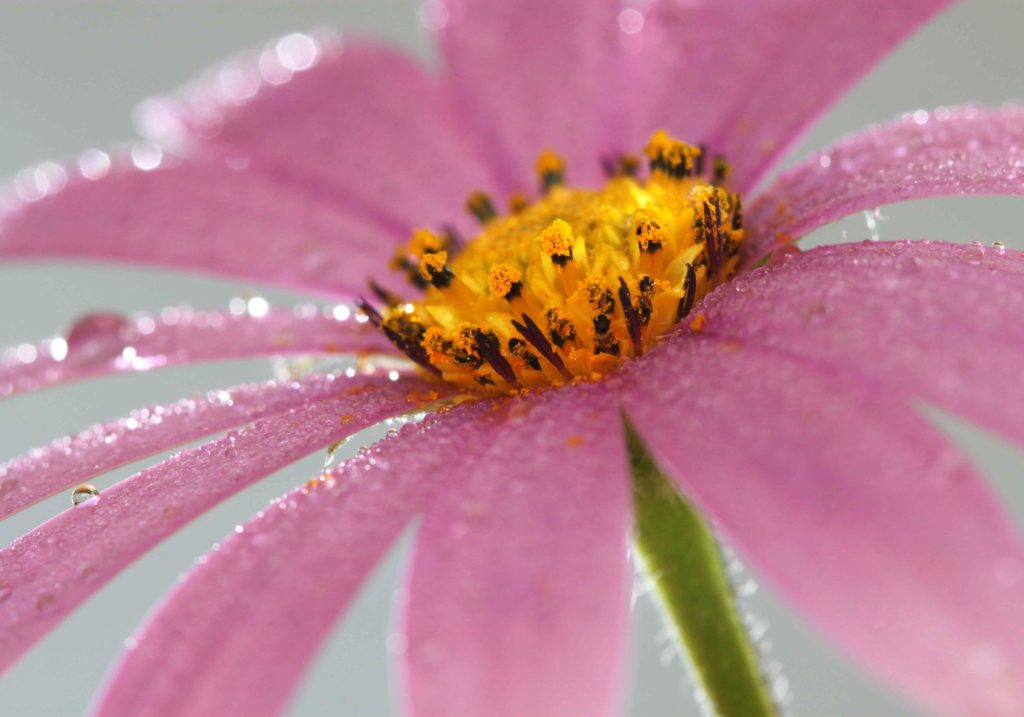
The other option is to use a macro lens. Macro photography is covered in more details elsewhere on this site. Macro lenses offer the ability to get in extremely close to your subject while delivering outstanding image quality. This is a fantastic area of flower photography allows the photographer to capture some truly stunning images. Have a go!
6. Reflectors
As mention earlier, lighting is key in flower photography. Shaded flowers can sometimes lead to an underexposed flower producing a slightly uninspiring image. The important thing is to ensure your flower remains adequately illuminated. To achieve this, you can use a reflector to bounce more light onto the shaded flower. Reflectors of different shapes and sizes can be bought online but often its cheaper and easier just to use a white piece of card, or card that you have covered in silver tin foil. The idea being that you adjust the reflector's position until it casts some gentle light right onto the flower making your flower appear brighter and more vibrant. It can dramatically improve the overall appearance of your final image. Try it out!
7. Mastering the Art of Shallow Depth of Field
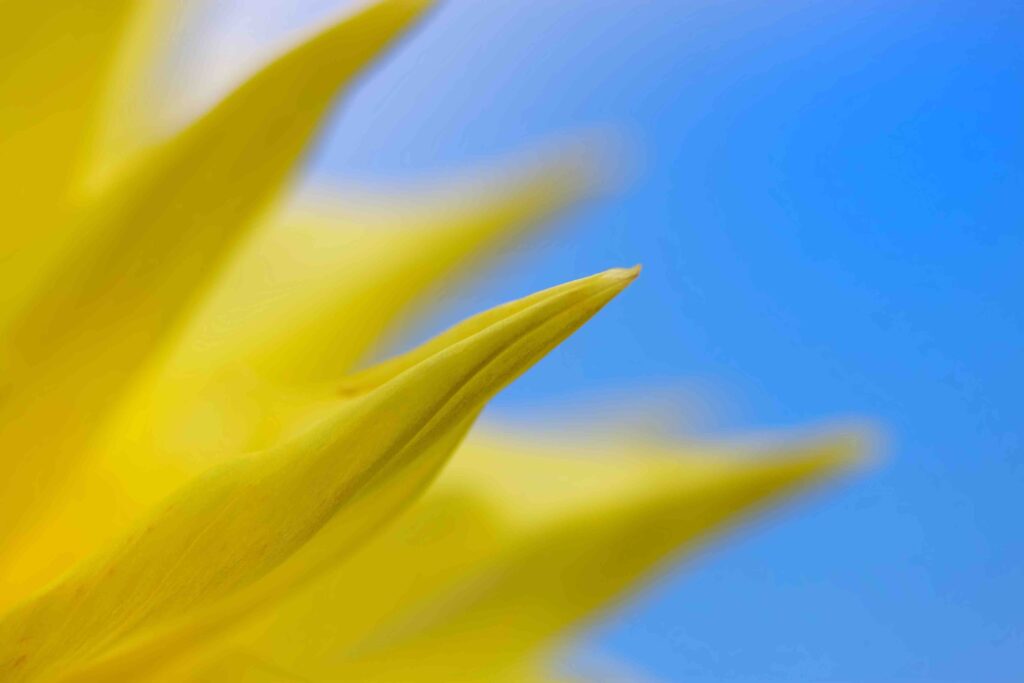
A shallow depth of field is a very powerful tool in flower photography, enabling you to create some very striking images. Using a narrow depth of field results in a narrow slice of sharpness, highlighting the flower while blurring the background and / or the foreground.
To achieve a shallow depth of field you need to use a lens with a wide aperture, often represented by a low f-number like f/2.8 or f/4. This not only produces a desirable background blur but also allows for faster shutter speeds, increasing the likelihood of capturing sharp images. In addition to a wide aperture, proximity to your subject plays a crucial role in enhancing the background blur. The closer you position yourself to the in-focus area, the more pronounced the background blur becomes.
Aperture and depth of field are covered in more detail elsewhere on this site.
So, as you can see, there are numerous quick and easy actions you can take to enhance your flower photography.
There are no strict guidelines. Give it a try, experiment, observe the results, and most importantly, enjoy the process!